Homemade Pottery Wheel
- 22nd November 2018
- Blog
- 2:27 reading time (ish)
- 466 words
Hey guys, thought I’d share my homemade pottery wheel adventure with you as I often get asked “how the hell?!” – if it’s of interest, please read on 🙂
I took to pottery in August this year and I’ve been hooked ever since, every week attending a class with everything you’d ever need. Skip ahead a few months and I’ve now got my own little Instagram account, PotrePots and I’m potting away on my homemade wheel!
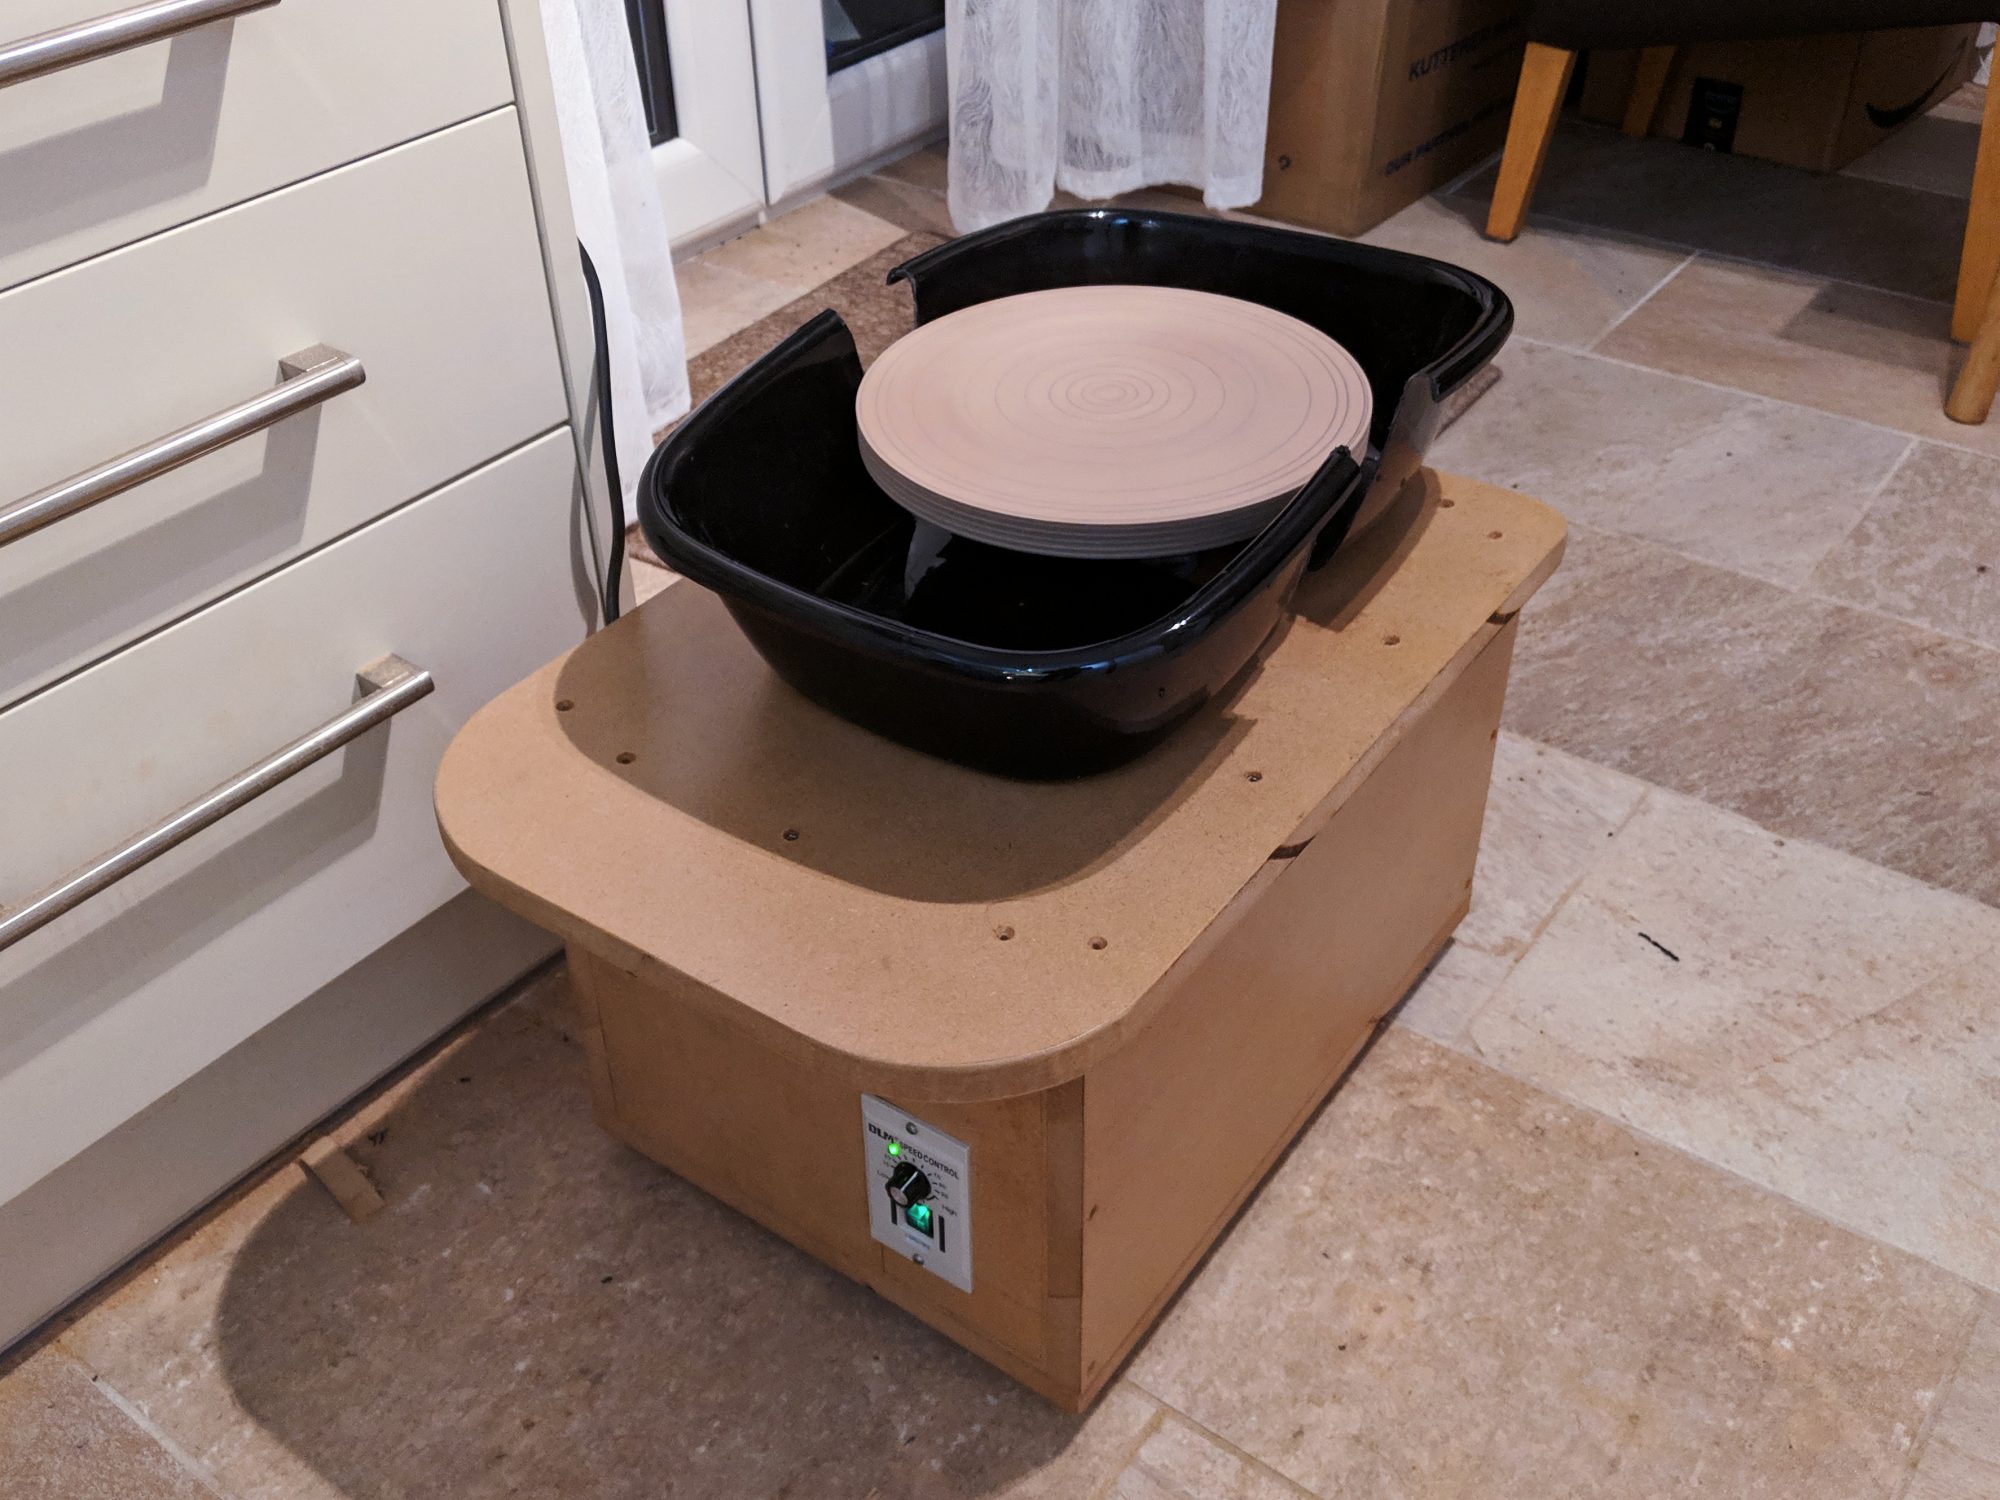
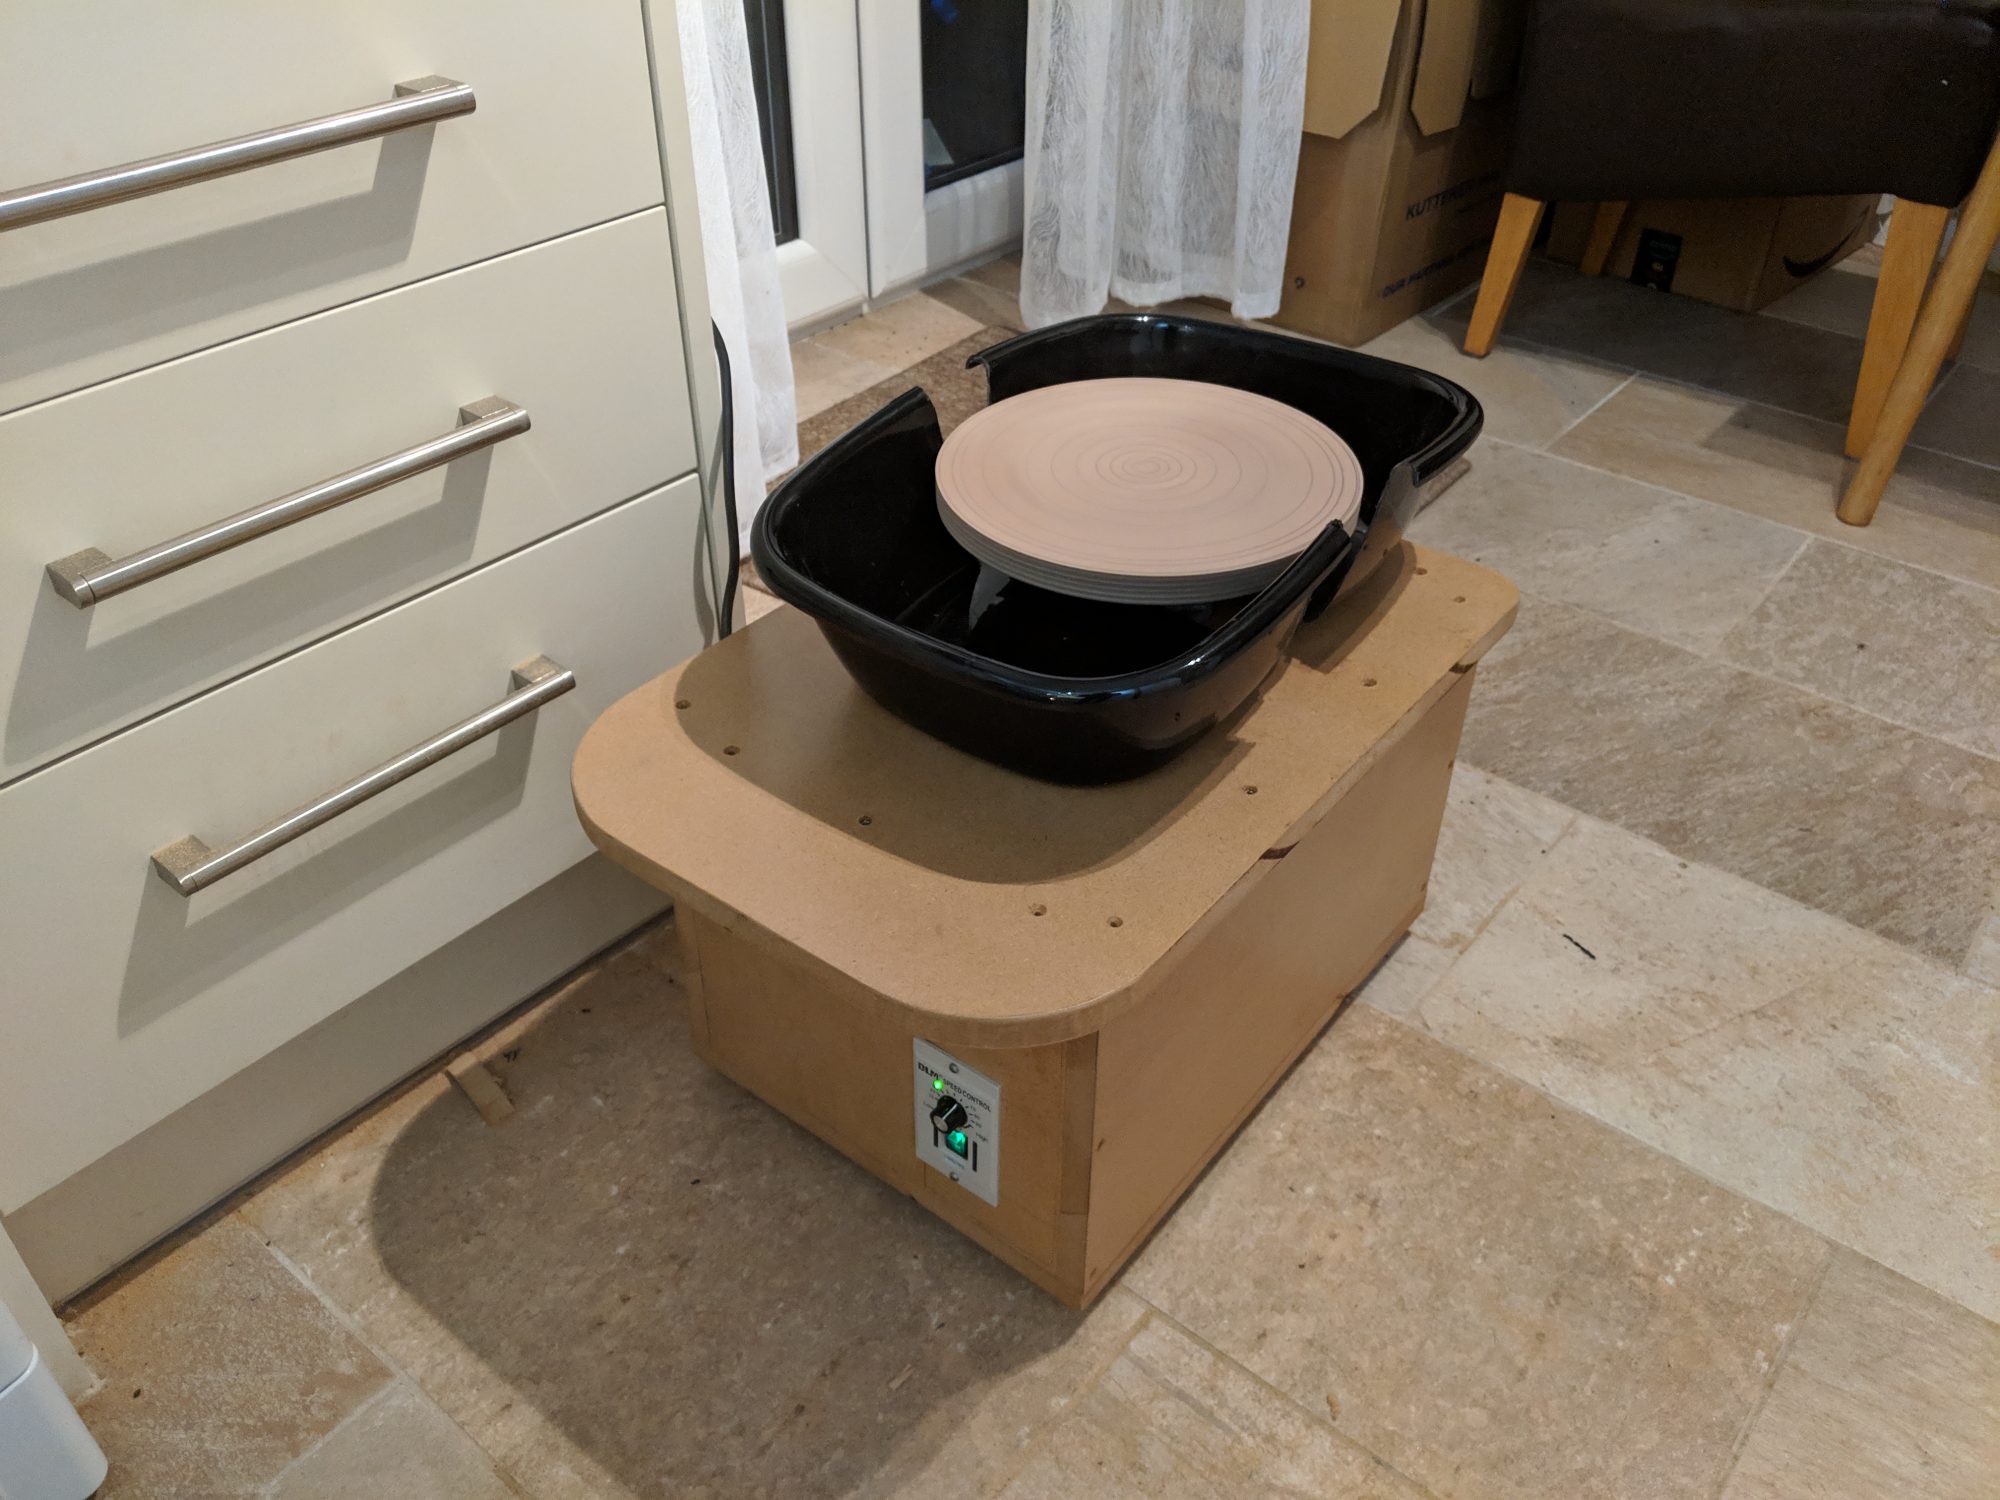
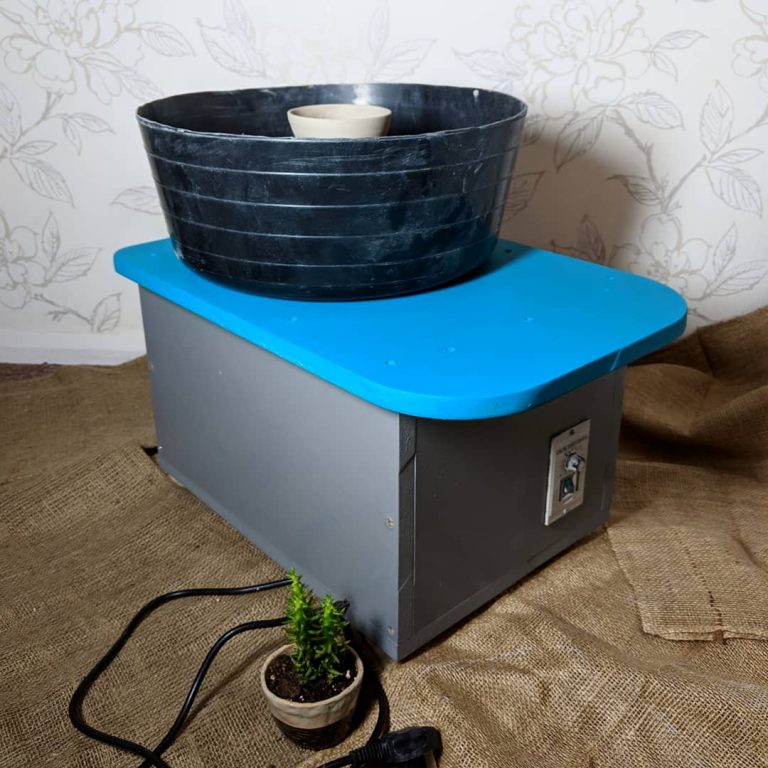
The DIY homemade pottery wheel
It wasn’t long until I found myself wanting to work on my new found hobby more than once a week at the pottery class so I started to look online for pottery wheels. Yikes! A nice pottery wheel is expensive!
The solution? Let’s make one!
Now this isn’t a new idea, I used a lot of advice shared by Colemishler on his pottery wheel post which gave me all the requirements – yeah… this is doable.
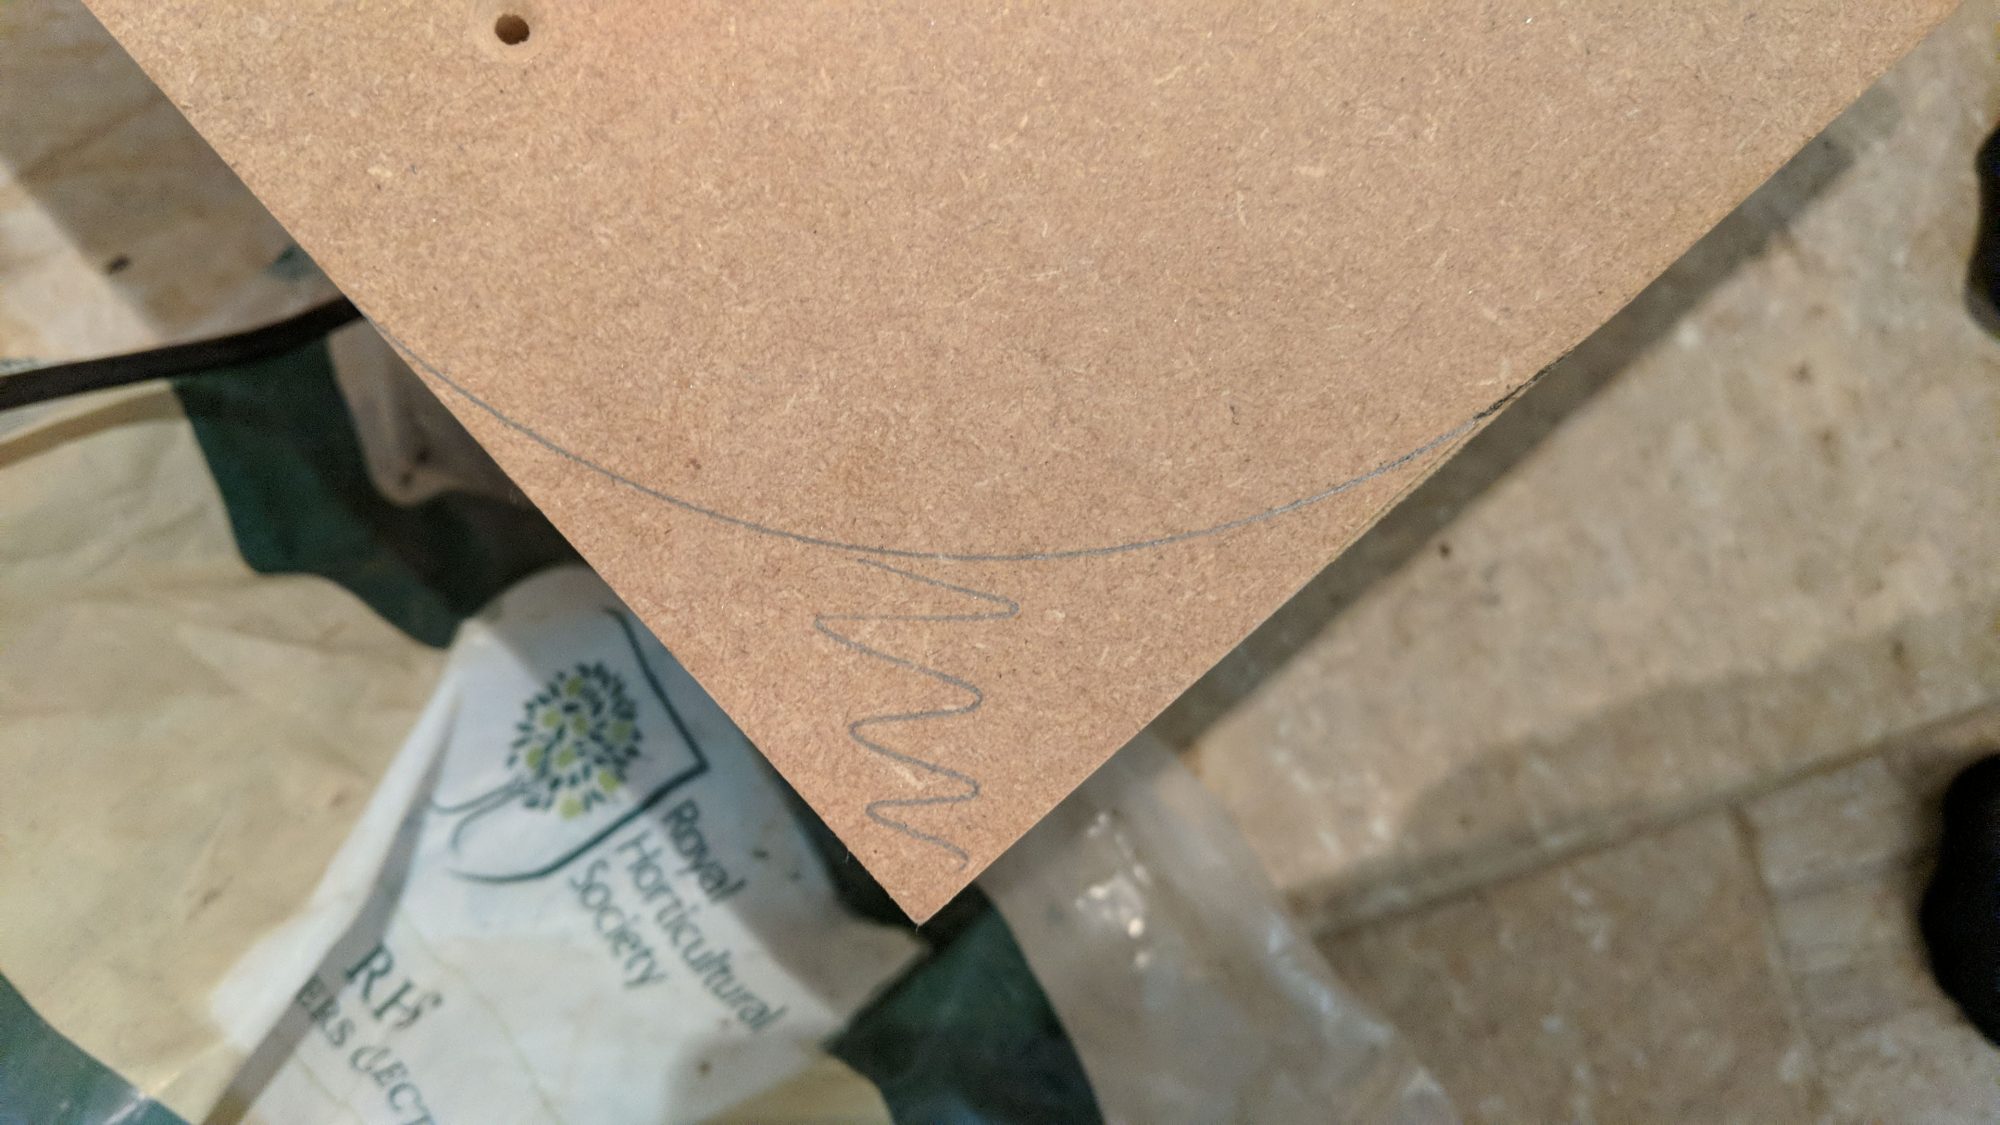
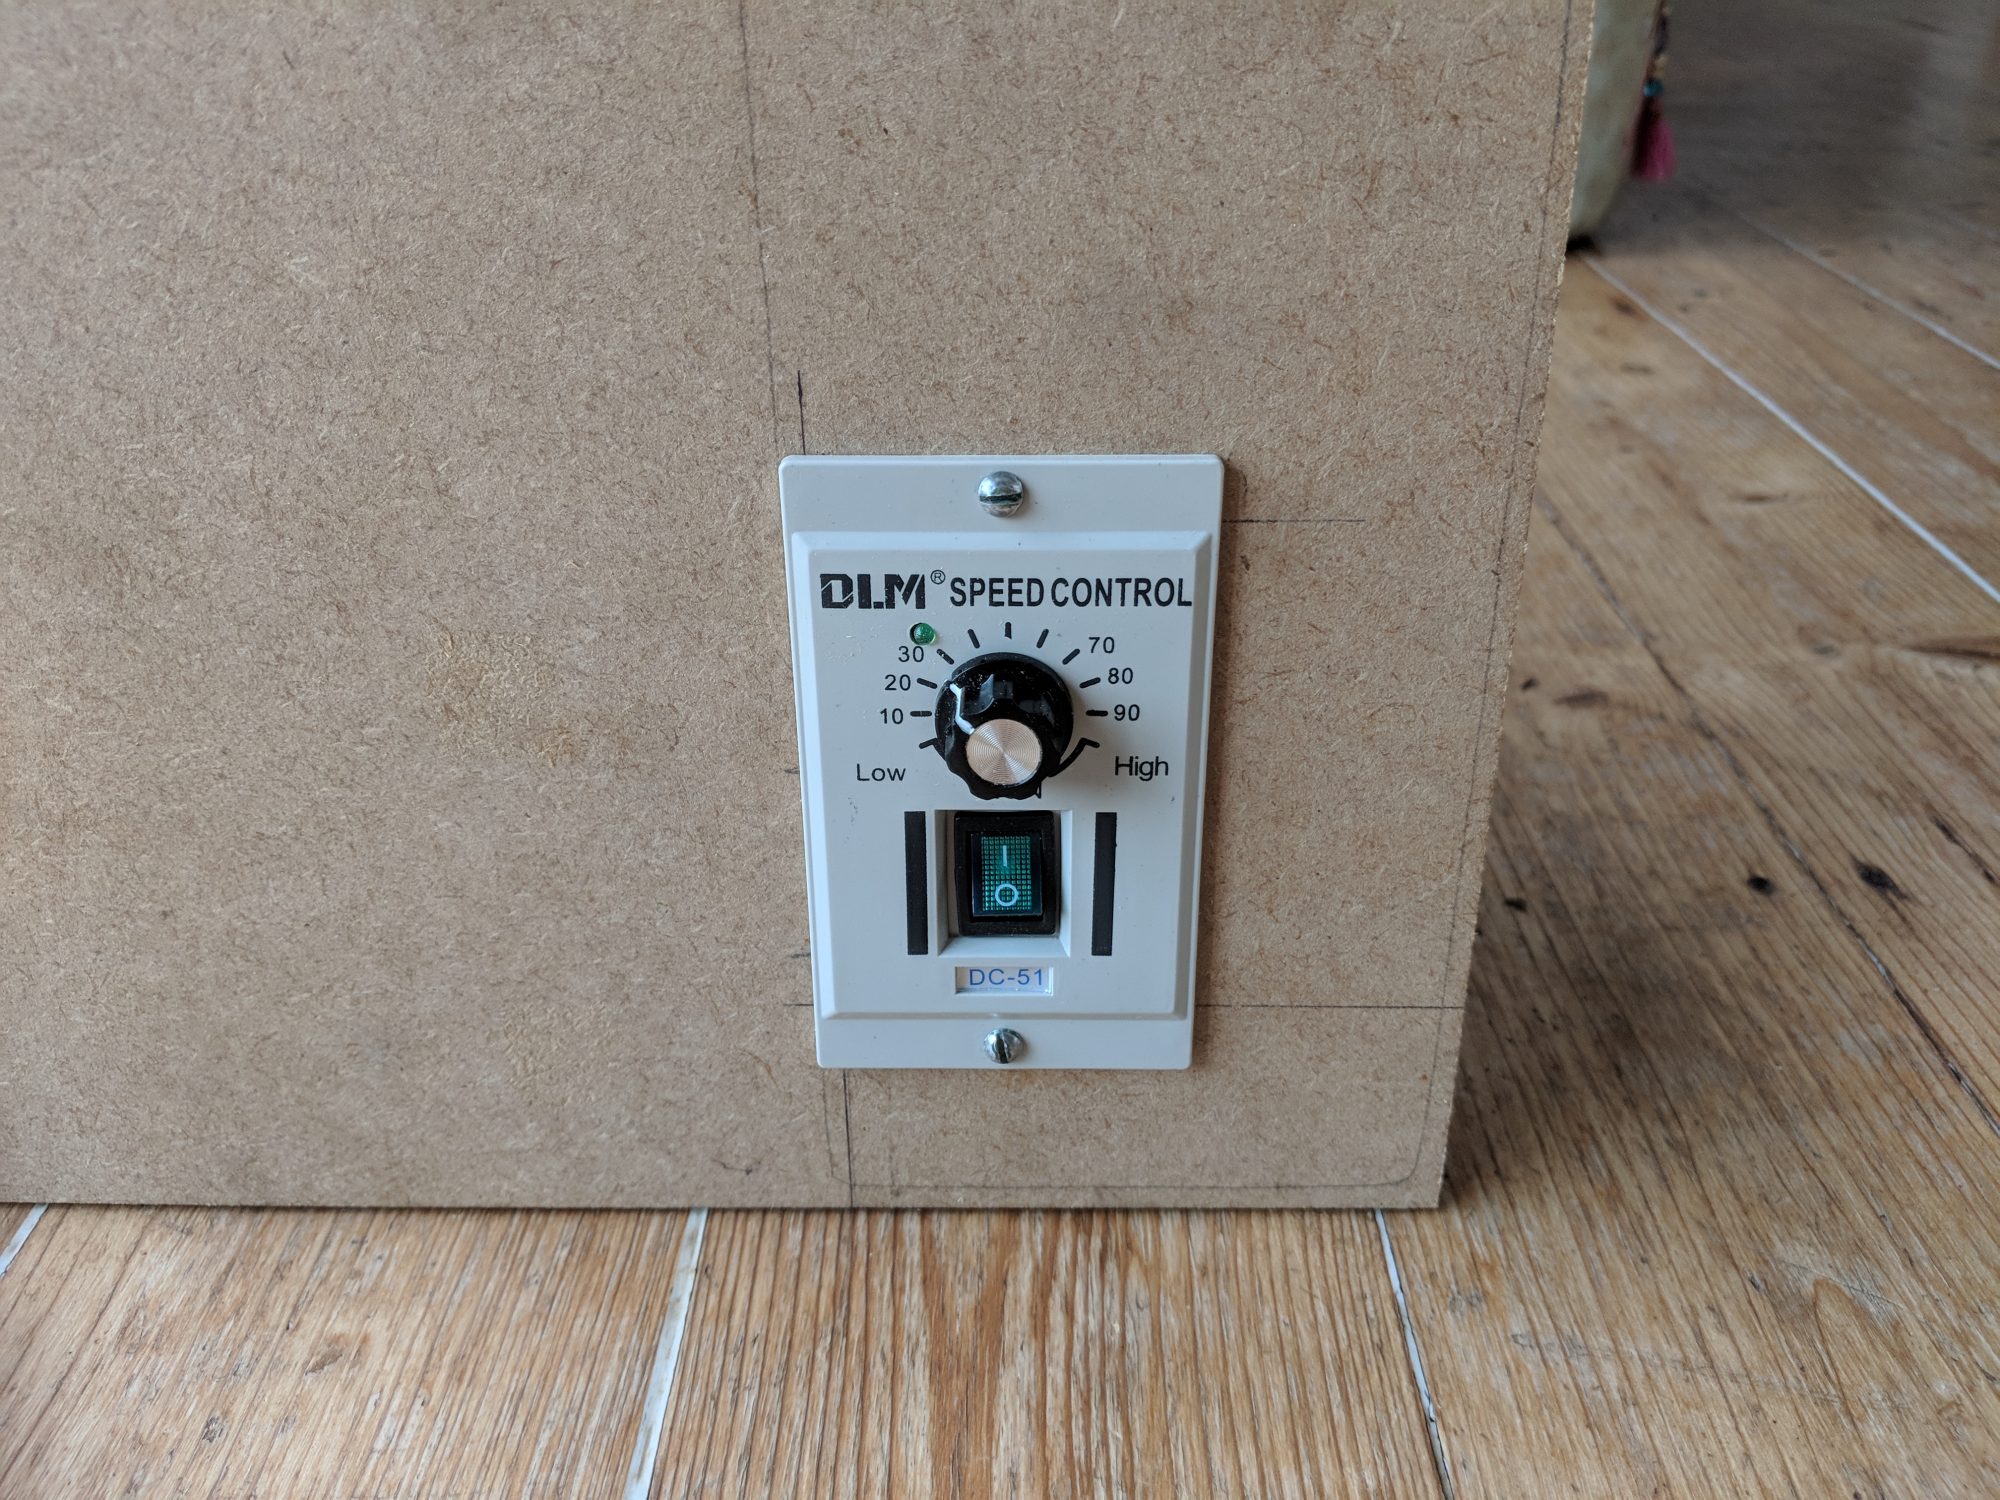
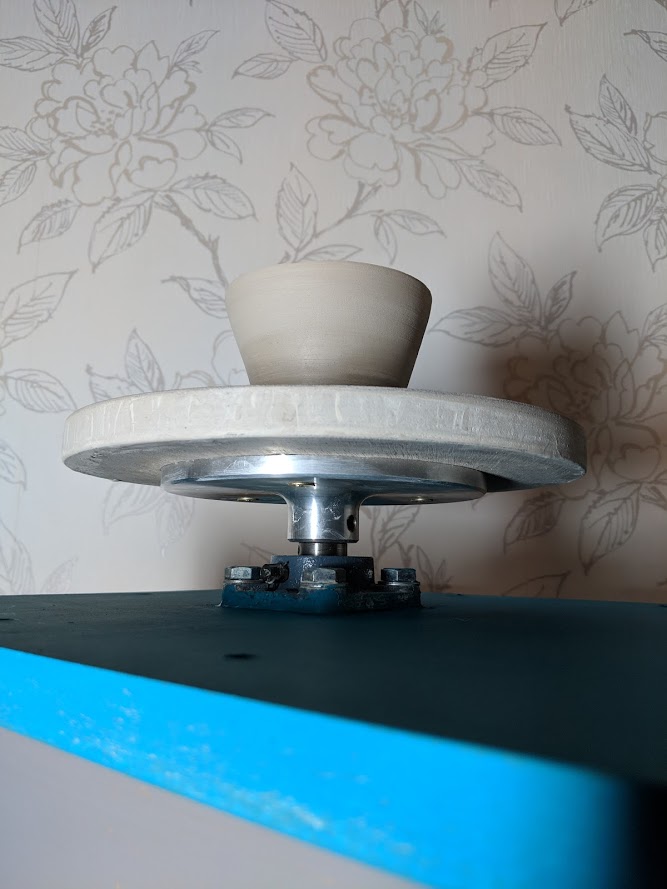
I won’t bore you with the processes as it was pretty scattered if I’m honest, but below is all the materials I used along with some handy photos that might help you create your own wheel too.
Materials used:
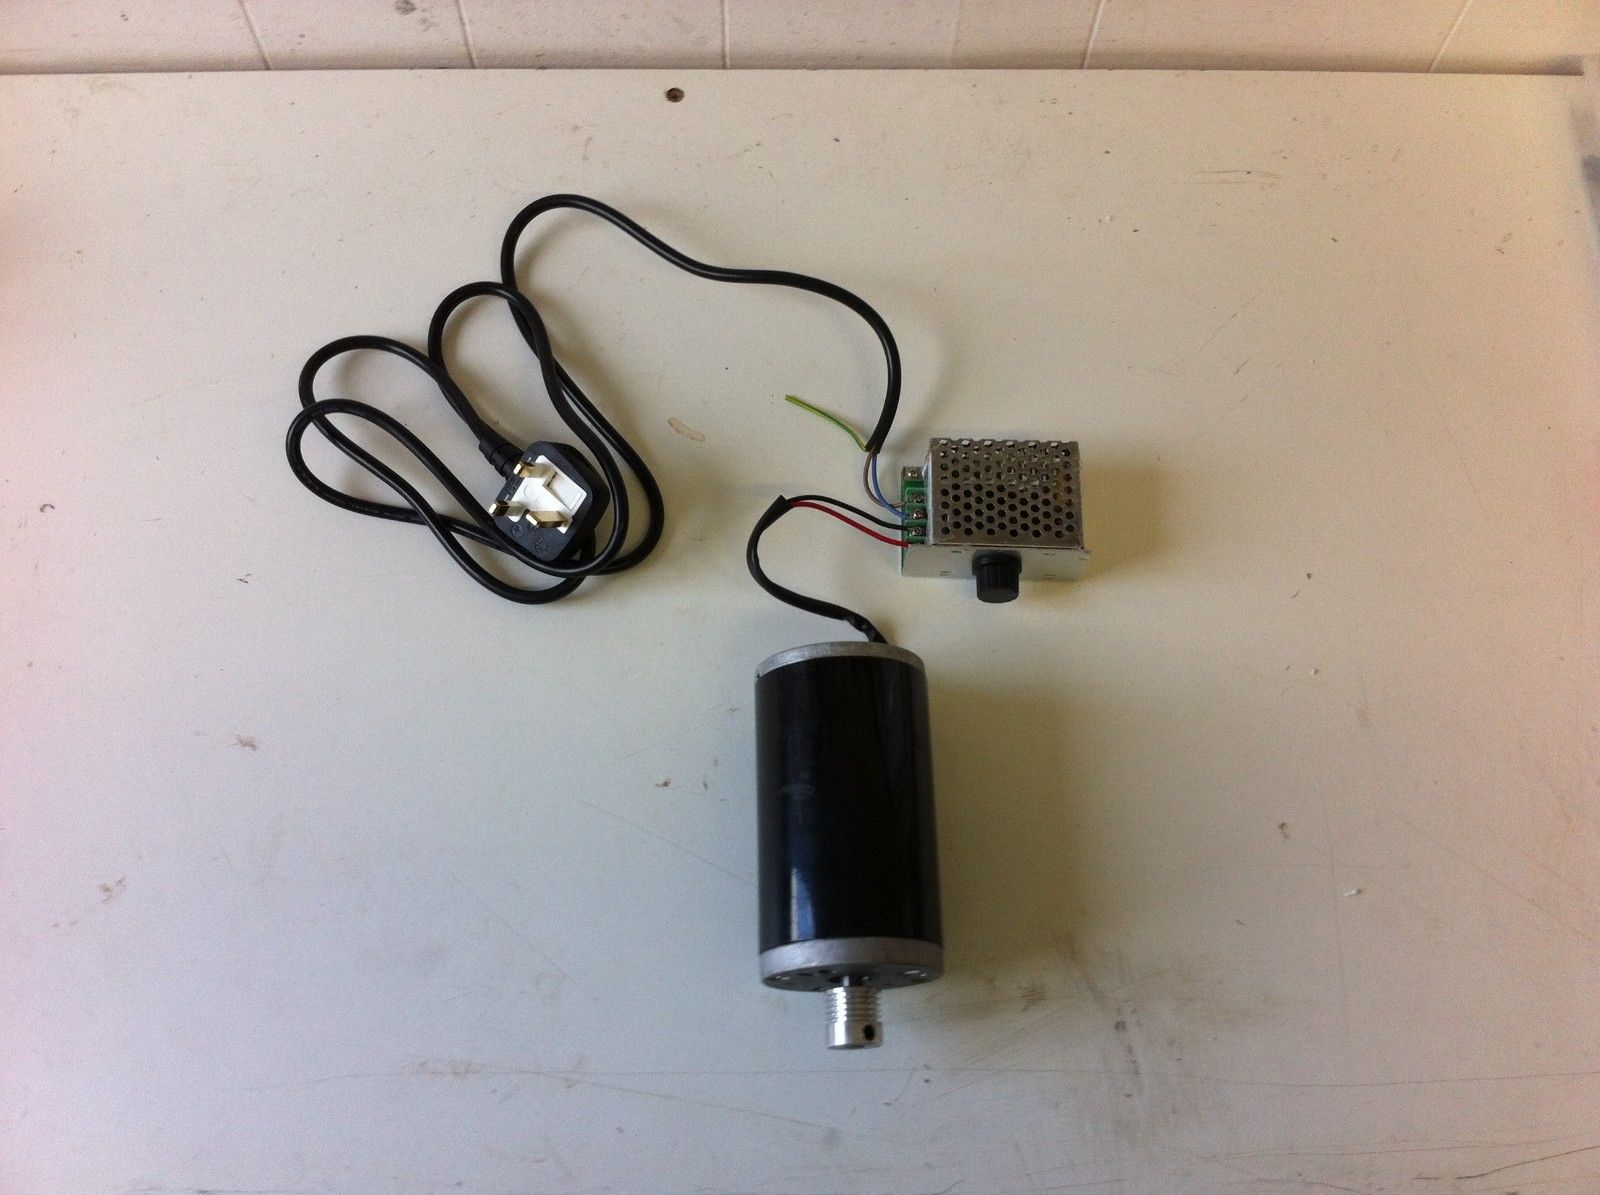
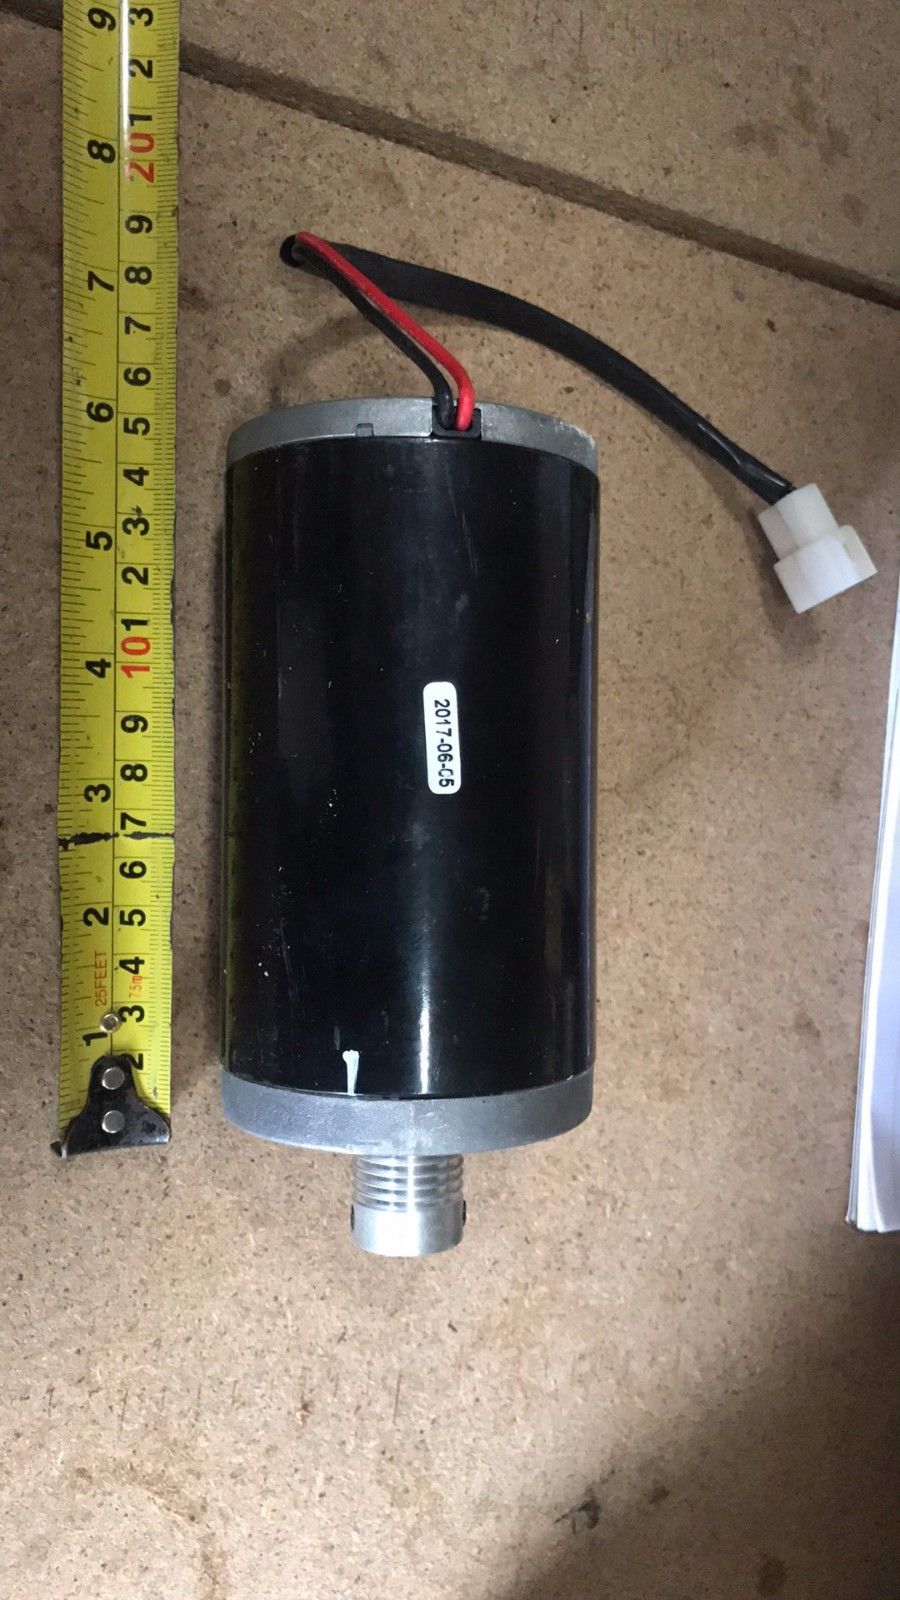
- Treadmill motor from eBay / Supplier now has one with a controller
- 50mm Pulley
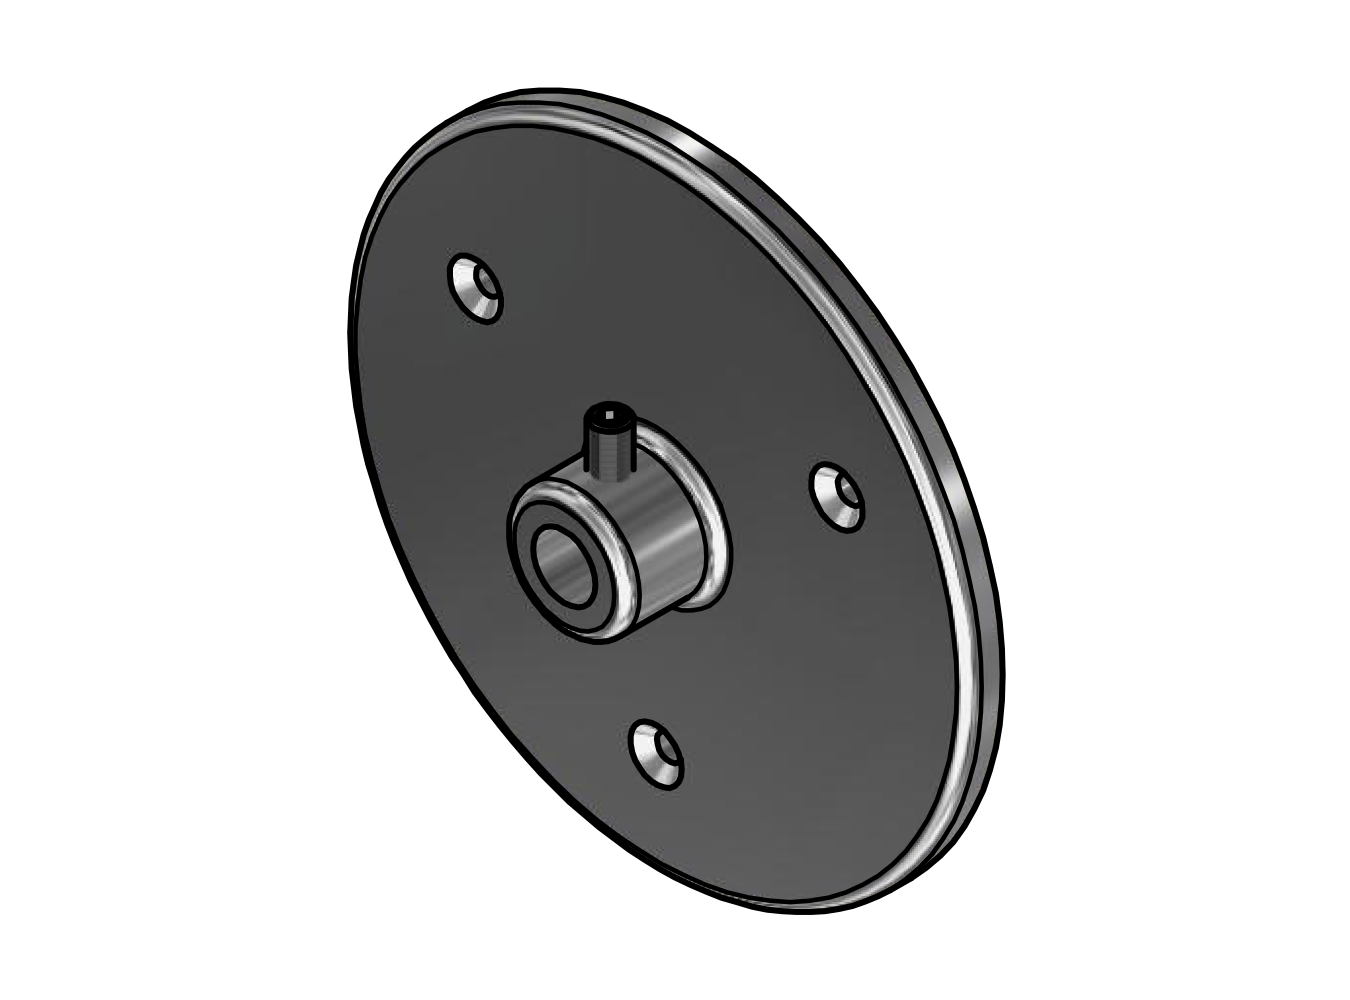
- 200mm Aluminium Pulley or 200mm Pulley with 2012 15mm Taperlock Bush
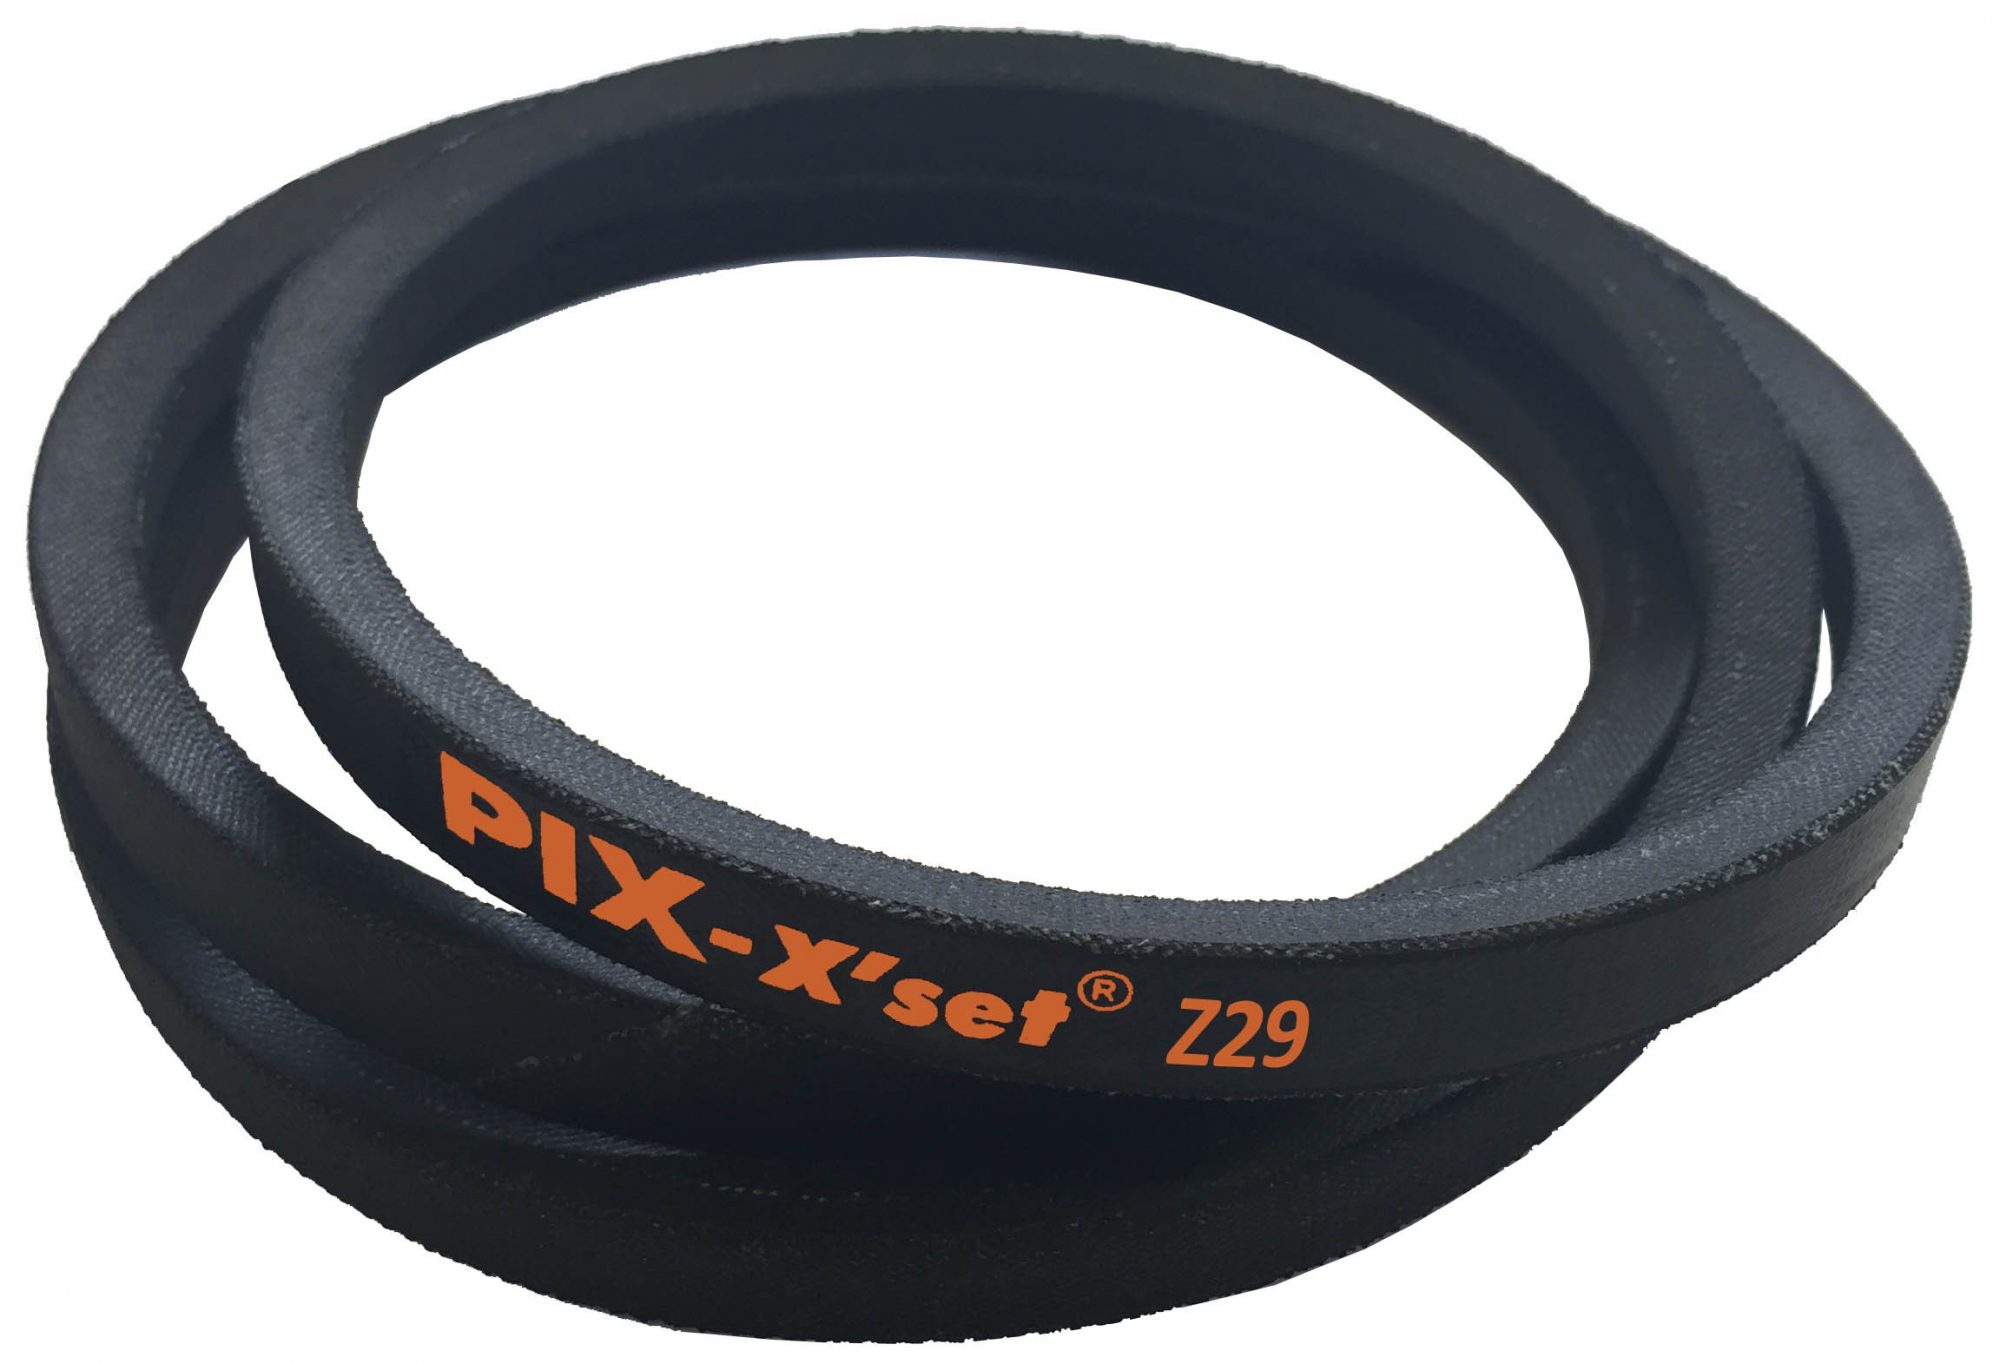
- 737mm V Belt
- Power controller
- Compression Flange (it works, but I ended up replacing this with a bespoke option below by a local engineer which was a far superior solution)
- Custom made wheel head plate/flange
- Marine plywood/plywood (wooden bats to throw on)
- MDF (I would suggest marine plywood/plywood though) – B&Q
- 1 large flexible plastic tub (cutting this in half produced a lot of mess, just a heads up)
- 1 flat piece of aluminium (motor bracket) – plenty of places online
- 1 right-angle piece of aluminium (motor bracket) – plenty of places online
- 15mm metal rod (aluminium or steel) for the wheel drive
- 3 Pillow Blocks (3 might be overkill, you could survive with 2)
- Miscellaneous nuts, bolts, washers, set screw, etc.
The wheel
You’ll probably notice that there are variations of the wheel throughout these photos – that’s because it was very much a “trial by error”. For example, I used two washing up bowls for a splash guard first (so I can separate them to clean everything) but couldn’t seal it enough when the two pieces were together.
I opted to use a flexible plastic tub in the end and simply remove the wheel head when cleaning.
Update
I’ve gone through the materials list and updated broken links where I can – please do get in touch if any of the links don’t work. The engineer chap who create the custom wheel head is still happy to create more so if you need one, again, get in touch 😊


